Good Wednesday to everyone, this is Sara;)
I am here with a tutorial for you on one more way to use your digital stamps,
Printed Fabric Transfer.
Supplies you will need:
Digital Stamp
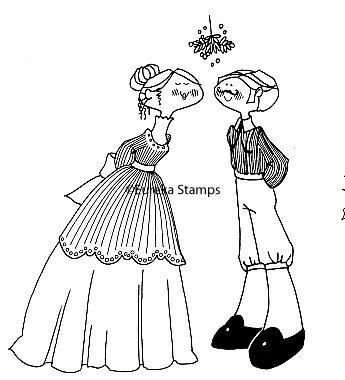
Today I am using
Computer/Printer
Fabric Transfer Printer Paper,
I used the product below from Avery
Iron and Ironing board
2 yards of ribbon trim
Fabric Glue
Scissors
Step One: Open your digital stamp into your graphic program I use PSE10, make all the changes you desire. For mine I used a red color stylizer. In just a few seconds I had transformed the background image.

Step Two: Print your image onto the transfer printer paper (per product directions).
I chose custom print size and ticked the box Scale to fit Media. *The original size of the background stamp is 5.94" by 7.29".
You can see below the prompt box the open white space for the printed background.
You can see below the prompt box the open white space for the printed background.

Now for the last screen before printing, you can see the digital stamp fills the entire
8 1/2" by 11" of paper and there is no more white space.

Step Three: Cut your paper transfer to the size and dimensions you need for your project.
I used 3 3" wide strips 8 1/2" long. I also had to cut two smaller pieces to fill in the end side of the pattern. It took a full sheet of 8 1/2" by 11" transfer paper to complete my design.
Step Four: Wash and Iron flat the flour sack towel.
Step Five: Iron your your transfer pieces (per product directions).
You can see below how I used the hem of the towel for positioning my iron on transfer.
I did this step three times until I had the 3" trim transfer I desired.
Step 6: Take your fabric trim and fabric glue and apply to the upper and lower borders of the transferred image and let it dry overnight. You can if you wish tack it in a few places with some stitching if you so desire.
Here is a photo of my finished towel hanging...

This was so much fun to do, I hope you give this tutorial a try.
Any questions you can email me
paschal.sara@gmail.com
Thanks for stopping by
Eureka Stamps blog today.